Static site analytics with Nginx, GoAccess and Javascript
Static site analytics with Nginx, GoAccess and a tiny Javascript. Or how to add a pixel.gif tracker on a static site (ie. Jekyll, Hugo …)
Markus Winkler©
- Custom Nginx log by Location
- Adding some Nginx useful data
- Jekyll integration
- GoAccess integration
- References
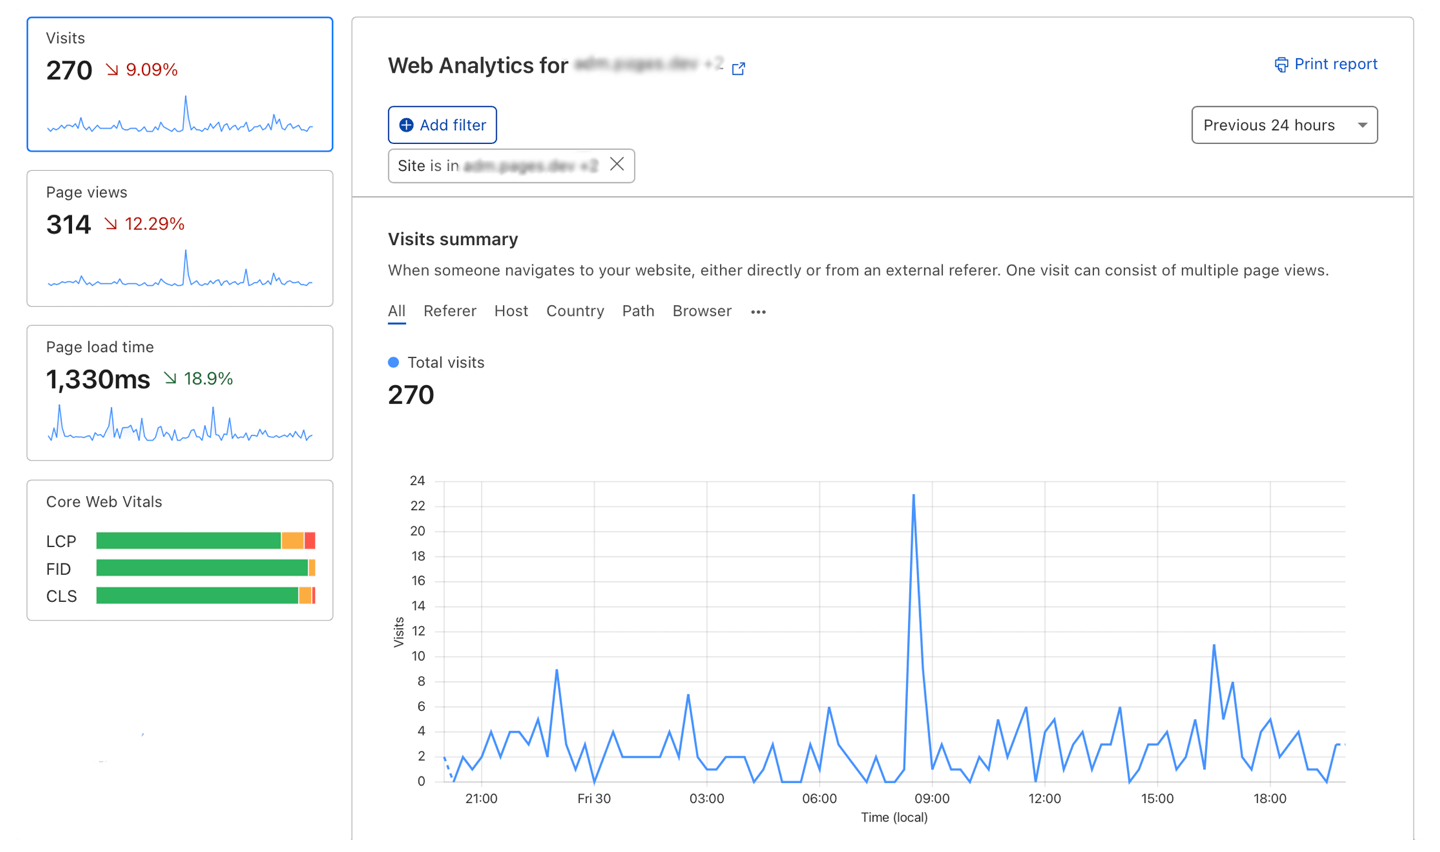
I’ve been using Cloudflare analytics to get an idea if anyone visits my blog. Cloudflare tells me the number of requests, unique visitors and used bandwidth. Better than nothing. But there’s only 30 days of history, I don’t know how many of the visits are crawlers and what pages the visitors request…
Over the weekend I saw a post by Ben Hoyt on replacing Google Analytics with GoAccess which resonated with me. So it was interesting to see Ben using logs and GoAccess but instead parsing the generic access log, he parses just a pixel log.
A very dull lightbulb came on, can I do this ultra simply with Nginx and get my stat cravings ?
Custom Nginx log by Location
So within Nginx, most things are defined in a location block when they are talking about interaction from a visitor. So if we want to add a pixel then it makes sense it to define it as a location.
# file: "/etc/nginx/sites-available/example.io.conf"
location /pixel.gif {
        empty_gif;
}
With this defined, if you go to example.io/pixel.gif you will be served a 1×1 pixel transparent gif. The empty_dif directive is whats delivering an in memory pixel gif.
We can then expand this location to include a custom access log, so when content hits this location it’s recorded in this access log, not the more generic one if defined. Generally but not always with Nginx things inside the location block override for that location wider directives.
So now we have
# file: "/etc/nginx/sites-available/example.io.conf"
location /pixel.gif {
        empty_gif;
        access_log /var/log/nginx/pixel-access.log
}
Adding some Nginx useful data
Ok so if we were to add that pixel to our website, leave it for a week and look at the data, we would be disappointed. Our logs will be nicely filled, and we would have some IPs and useragent, but we wouldn’t know what pages been visited, as the location option would show pixel.gif…
So how do we get the user location?
Well, most pixel trackers add extra information in the query string. So our pixel becomes example.io//pixel.gif?u=mylocation/&r=https://google.com
We could simply hardcode the URL assuming we are using a CMS, though that wouldn’t get us the referrer for this we would need to resort to javascript so borrowing Ben example.
<script>
  if (window.location.hostname == 'benhoyt.com') {
    var _pixel = new Image(1, 1);
    _pixel.src = "https://cloudfront.example.net/pixel.png?u=" +
      encodeURIComponent(window.location.pathname) +
      (document.referrer ? "&r=" + encodeURIComponent(document.referrer)
                         : "");
    }
</script>
<noscript>
  <img src="https://cloudfront.example.net/pixel.png?
            u=%2Fblog%2Fit%2F2023-01-02-static_site_analytics_with_nginx_goaccess_and_tiny_javascript%2F" />
</noscript>
We can do this:
<script>
    if ((window.location.hostname == 'example.io') || (window.location.hostname == 'www.example.io' )) {
      var _pixel = new Image(1, 1);
      var timestamp = new Date().getTime();
      _pixel.src = "https://aws.example.io/pixel.gif?u=" +
        encodeURIComponent(window.location.pathname) +
        (document.referrer ? "&r=" + encodeURIComponent(document.referrer) : "") +  "&i=" + timestamp;
    }
</script>
- $u is the
location.pathname - $r is the
document.referrer - $i is the
timestamp
Then we need to make use of these arguments. In Nginx, any query arguments can be accessed in the location block by using $arg_[key]
# file: "/etc/nginx/sites-available/example.io.conf"
	location /pixel.gif {
        	set $referrer $arg_r;
        	set $rurl $arg_u;
        	empty_gif;
        	access_log /var/log/nginx/pixel-access.log;
		      error_log /var/log/nginx/pixel-error.log;
	}
The variable $i isn’t used to /pixel.gif location. It’s only used for the HTTP request to be unique, and so that all the requested called/load our pixel.gif {:.note}
So now we have used the Nginx SET directive to set variables for $referrer and $rurl. By using SET we can now access those variables in our log file.
Now we need to add a new log format, this is done in the HTTP context, not the location. If you have a conf.d folder, you can add this as a new file. the log format, has to exist, prior to the location block in the order of the document. In our case we are just doing:
# file: "/etc/nginx/conf.d/pixel.conf"
log_format pixel '$remote_addr - $remote_user [$time_local] '
                           '"$request_method $rurl $server_protocol" $status $body_bytes_sent '
                           '"$http_referer" "$http_user_agent"';
This log_format pixel retour à log-format COMBINED for Nginx and Apache HTTP server
In the above, we have replaced the location and referrer information, with our variables. The final step is to get our location to use this new format (which we have cunningly named pixel)
# file: "/etc/nginx/sites-available/example.io.conf"
	location /pixel.gif {
        	set $referrer $arg_r;
        	set $rurl $arg_u;
        	empty_gif;
        	access_log /var/log/nginx/pixel-access.log pixel;
		      error_log /var/log/nginx/pixel-error.log;
	}
We do this by adding the log_format name to the end of the access_log directive.
That’s it, you can add your javascript to pages you want to track, and your log file will slowly fill up with your visitors. In theory, you can add just about anything else you want in there.
Now when you run GoAccess against the new log file (/var/log/nginx/pixel-access.log), you get some actually useful stats.
Jekyll integration
Save the file in the my-analytics.html ‘_includes’ directory of your project
# file: "_includes/my-analytics.html"
<script>
    if ((window.location.hostname == 'example.io') || (window.location.hostname == 'www.example.io' )) {
      var _pixel = new Image(1, 1);
      var timestamp = new Date().getTime();
      _pixel.src = "https://aws.example.io/pixel.gif?u=" +
        encodeURIComponent(window.location.pathname) +
        (document.referrer ? "&r=" + encodeURIComponent(document.referrer) : "") +  "&i=" + timestamp;
    }
</script>
And added this component for example to your layout to appear in every page.
{ % include my-analytics.html % }
GoAccess integration
# file: "/etc/systemd/system/goaccess.service"
[Unit]
Description=GoAccess Live Log Analyzer

[Service]
Type=simple
ExecStart=/usr/bin/goaccess -f /var/log/nginx/pixel-access.log \
          --real-time-html --ws-url=wss://aws.example.io:443/ws \
          -o /var/www/html/analytics/report.html --port=7890 \
          --config-file=/etc/goaccess/goaccess.conf \
          --origin=https://aws.example.io \
	        --g=/usr/share/GeoIP/GeoLite2-City.mmdb
ExecStop=/bin/kill -0 ${MAINPID}
KillSignal=SIGINT
RestartKillSignal=SIGINT
PrivateTmp=false
RestartSec=1800
User=www-data
Group=www-data
Restart=always

[Install]
WantedBy=multi-user.target
Enable goaccess.service UNIT
The following three commands make it work, turns it on at boot, and turns it on now
sudo systemctl daemon-reload;
sudo systemctl enable goaccess;
sudo systemctl start goaccess;
Open analytics/report.html in your browser and there it is! If you make another request for /pixel.gif, the report should update in real time.
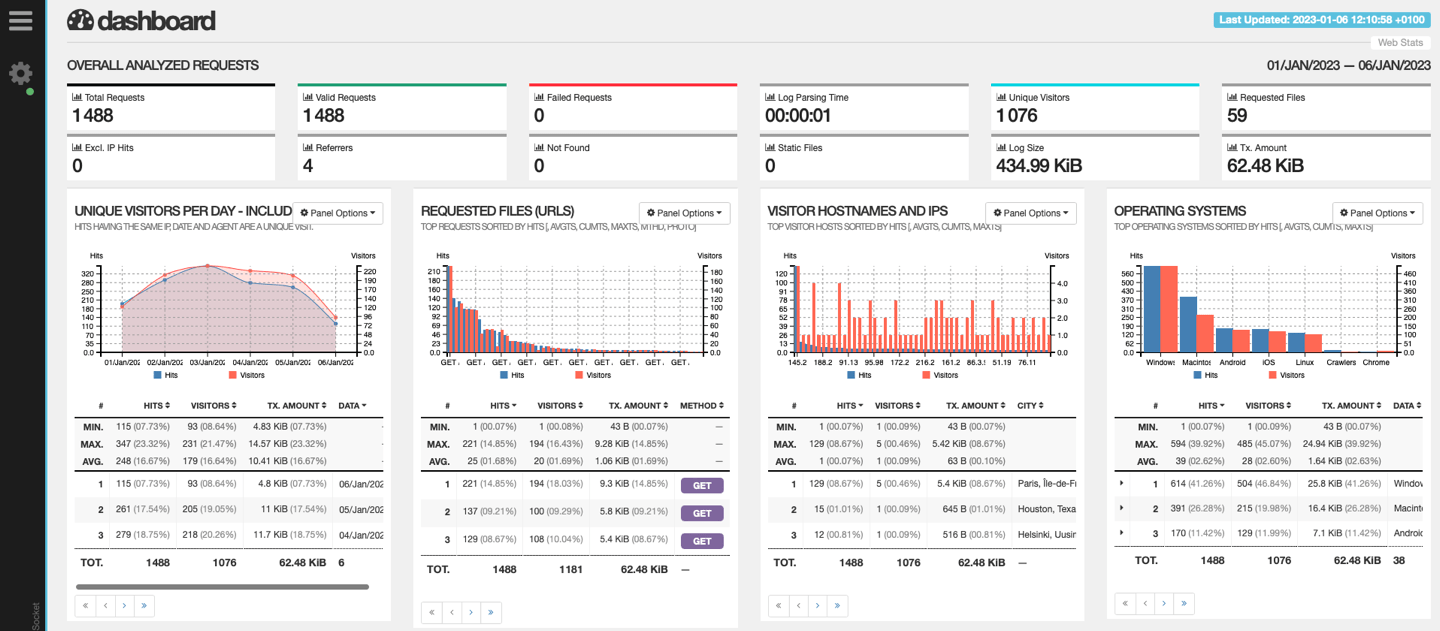 GoAccess screen capture