Unchain the Unifi Dream Machine PRO Special Edition (UDM PRO SE)
Unifi Dream Machine PRO Special Edition (UDM PRO SE) unchain to welcome new container services with podmap!
- UDM Pro SE Boot Script
- Install Podman
- Install CNI (Container Network Interface) Plug-Ins
- Test where we are
- Install ntopng Container on UDM PRO SE
- Tips
The information in this article is for UniFi OS - Dream Machine SE v2.5.11 or lower. And are unfortunately deprecated for UniFi OS SE v3.0.13.
Ubiquiti, is a manufacturer of wired and wireless network equipment for businesses and individuals (UniFi, EdgeMax, UISP, AirMax, AirFiber, GigaBeam and UFiber to name them).
In addition to this hardware activity, Ubiquiti is developing its own management software, whether it is Unifi Network Controller to manage their network equipment, Unifi Protect for video surveillance, Unifi Access for building access solutions, or the latest in date, currently in beta, Unifi Talk, the in-house VoIP solution.
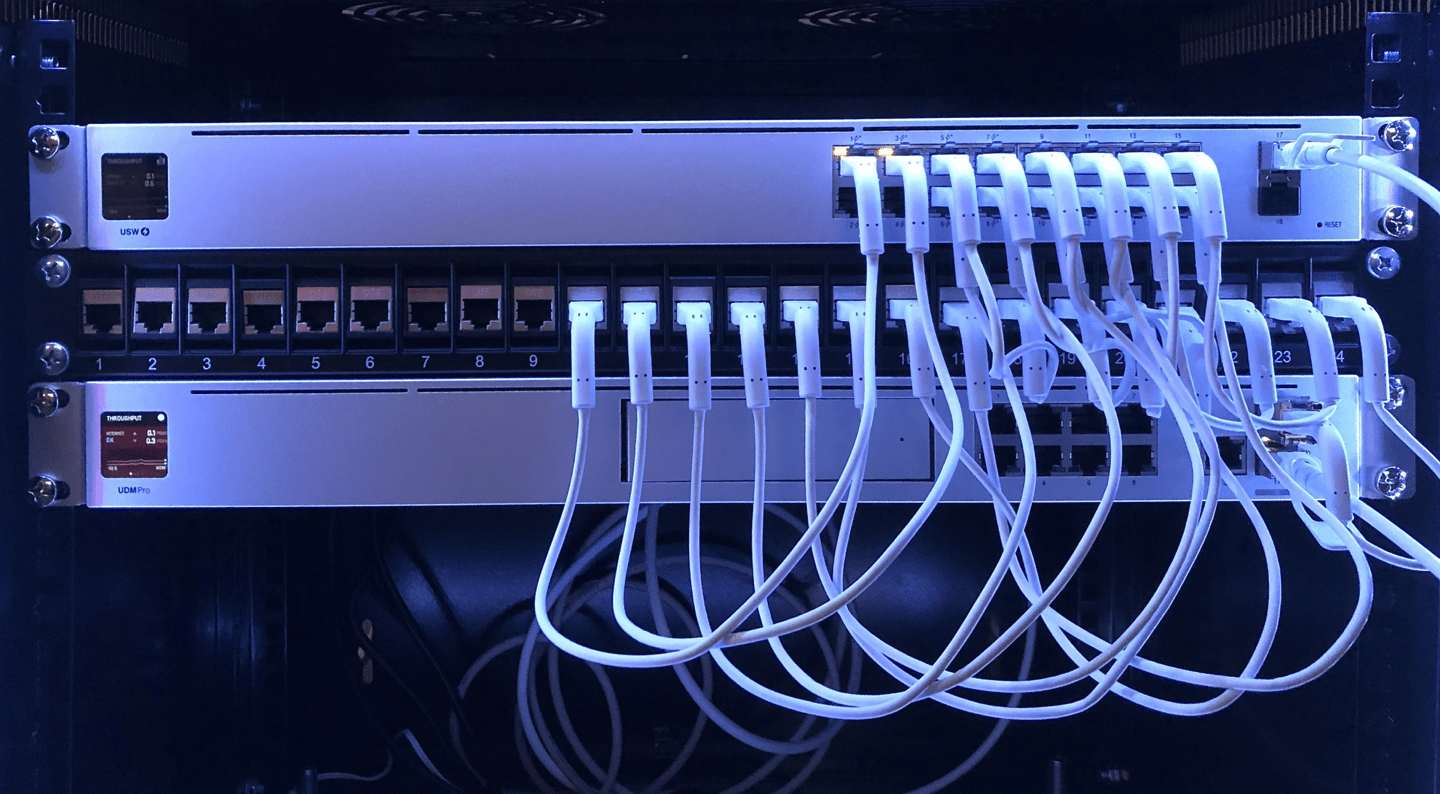
Among the range of products in the catalog, there is one, recently released, which combines the functionality of several others, the Unifi Dream Machine Pro SE (Special Edition).
The UDM PRO SE is powered by the Unifi OS, it is possible to make some improvements, in particular being able to install applications, including Adguard, PiHole, Let’s Encrypt, Wireguard, Ntopng …
The information necessary to implement these modifications for the previous generation of the UDM is detailed the Github repository boostchicken/udm-utilities.
In this article, we will see how to adapt the existing tools to unleash the new Unifi Dream Machine Pro SE
UDM Pro SE Boot Script
With the new Unifi Dream Machine PRO Special Edition (UDM PRO SE), it seems most of the system is persistent on reboot, including systemd units and custom dpkg/apt Linux packages that are installed. It’s possible to create various systemd service files to run things and enable them on startup, including wpasupplicant or wireguard, or whatever else. So basically we can just use it as a normal Debian system and we don’t need any custom boot script package anymore. Multiple reboots confirmed everything is working on boot.
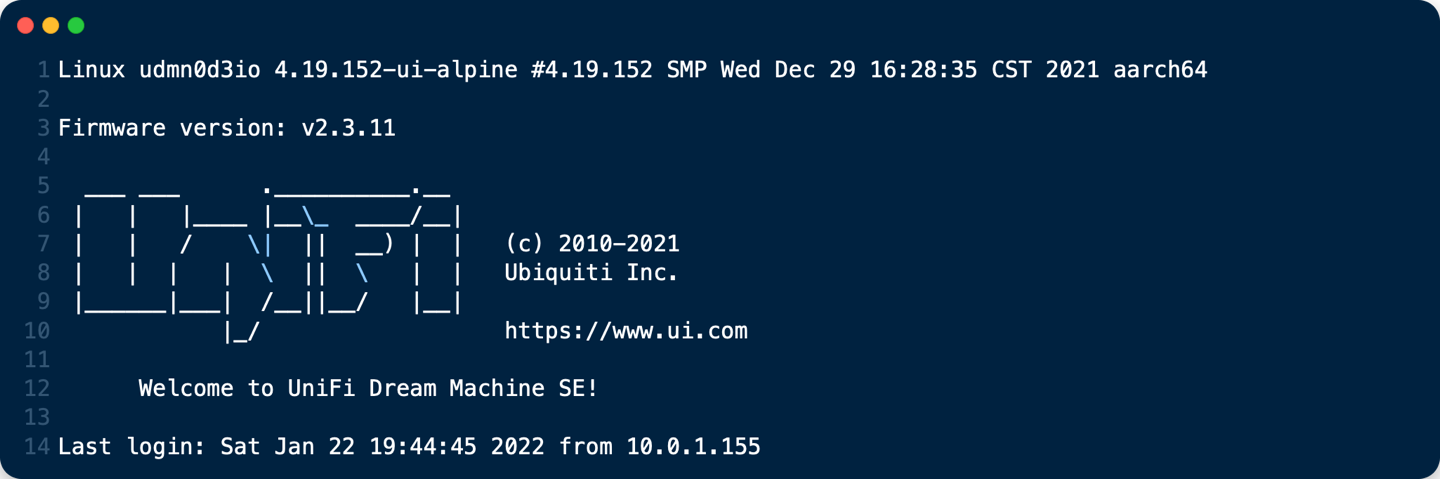
Get into the unifi os shell on your UDM with ssh
Enable on_boot.d
1. Create a service unit (systemd) file /etc/systemd/system/udm-boot.service with the contents shown.
# file: "/etc/systemd/system/udm-boot.service"
[Unit]
Description=Run On Startup UDM
Wants=network-online.target
After=network-online.target

[Service]
Type=forking
ExecStart=bash -c 'mkdir -p /mnt/data/on_boot.d && find -L /mnt/data/on_boot.d -mindepth 1 -maxdepth 1 -type f -print0 | sort -z | xargs -0 -r -n 1 -- bash -c \'if test -x "$0"; then echo "%n: running $0"; "$0"; else case "$0" in *.sh) echo "%n: sourcing $0"; . "$0";; *) echo "%n: ignoring $0";; esac; fi\''

[Install]
WantedBy=multi-user.target
This service unit will run the scripts present in the /mnt/data/on_boot.d folder.
2. Restart systemd:
systemctl daemon-reload
3. Enable the udm-boot service so it will be run upon every reboot:
systemctl enable udm-boot
4. Manually run udm-boot for test purposes:
systemctl start udm-boot
If it worked you should see a new directory called on_boot.d created under /mnt/data.
Now, start by adding a basic script to run at startup to the /mnt/data/on_boot.d/ folder.
Make sure to give it the #!/bin/bash shebang (#!) , a .sh extension, and chmod +x it, then run the udm-boot service again with systemctl start udm-boot.
Your startup script should have run now, so check whatever it was supposed to do happened. It makes it easier if your test script is just echoing to some file (e.g.: echo hi >> /mnt/data/test) so you can easily check if the file was created with right contents.
Install Podman
Podman is a daemonless container engine for developing, managing, and running OCI Containers on your Linux System. Containers can either be run as root or in rootless mode. Simply put: alias docker=podman. More detail here.
1. Download podman-install.zip to the UDM PRO SE root directory (/) from here
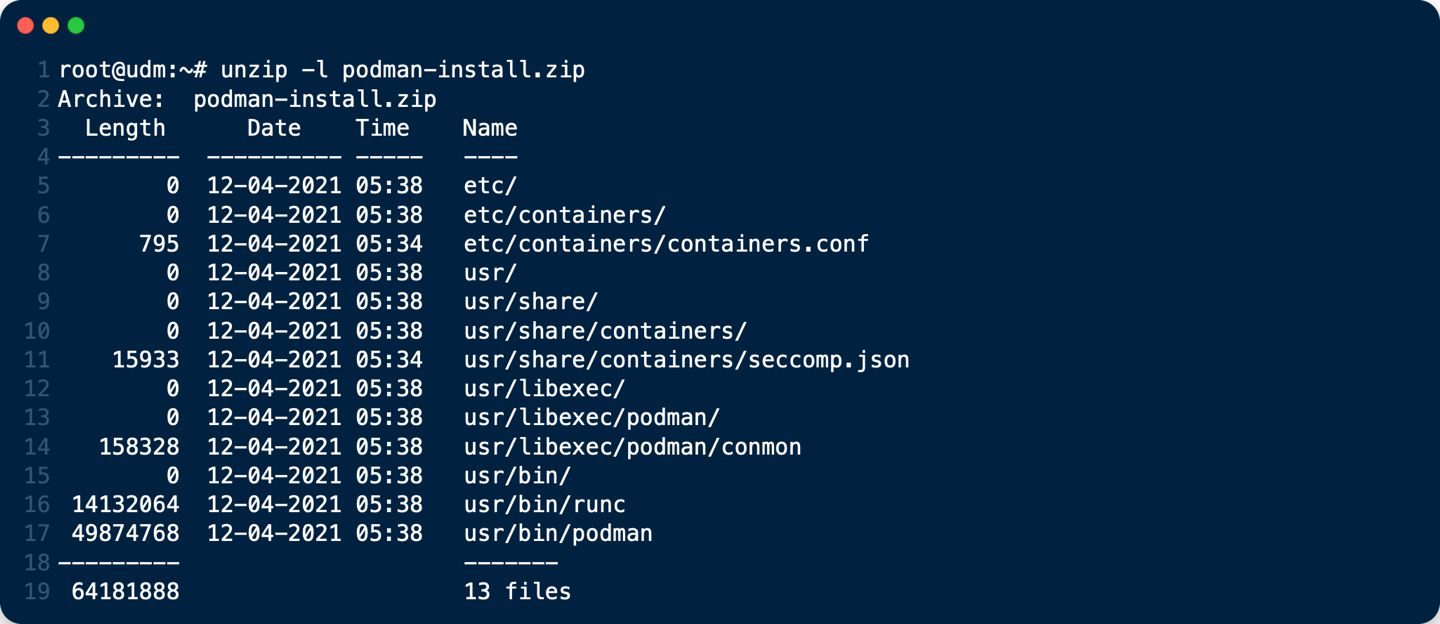
2. unzip podman-install.zip
cd /
unzip podman-install.zip
3. create /etc/containers/storage.conf file You can copy my current /etc/containers/storage.conf bellow to /etc/containers/
4. Copy my current /etc/containers/policy.json bellow to /etc/containers/
# file: "/etc/containers/policy.json"
{
    "default": [
        {
            "type": "insecureAcceptAnything"
        }
    ],
    "transports":
        {
            "docker-daemon":
                {
                    "": [{"type":"insecureAcceptAnything"}]
                }
        }
}
5. Copy my current /etc/containers/registries.conf bellow to /etc/containers/
# file: "/etc/containers/registries.conf"
unqualified-search-registries=["docker.io"]
Install CNI (Container Network Interface) Plug-Ins
1. Download Github boostchicken/udm-utilities/cni-plugins/05-install-cni-plugins.sh into /mnt/data/on_boot.d
cd /mnt/data/on_boot.d
curl -o /mnt/data/on_boot.d/05-install-cni-plugins.sh https://raw.githubusercontent.com/boostchicken/udm-utilities/master/cni-plugins/05-install-cni-plugins.sh
2. Make /mnt/data/on_boot.d/05-install-cni-plugins.sh executable:
chmod +x /mnt/data/on_boot.d/05-install-cni-plugins.sh
3. And run it:
/mnt/data/on_boot.d/05-install-cni-plugins.sh
Content of /mnt/data/on_boot.d/05-install-cni-plugins.sh
Test where we are
podman version

podman info
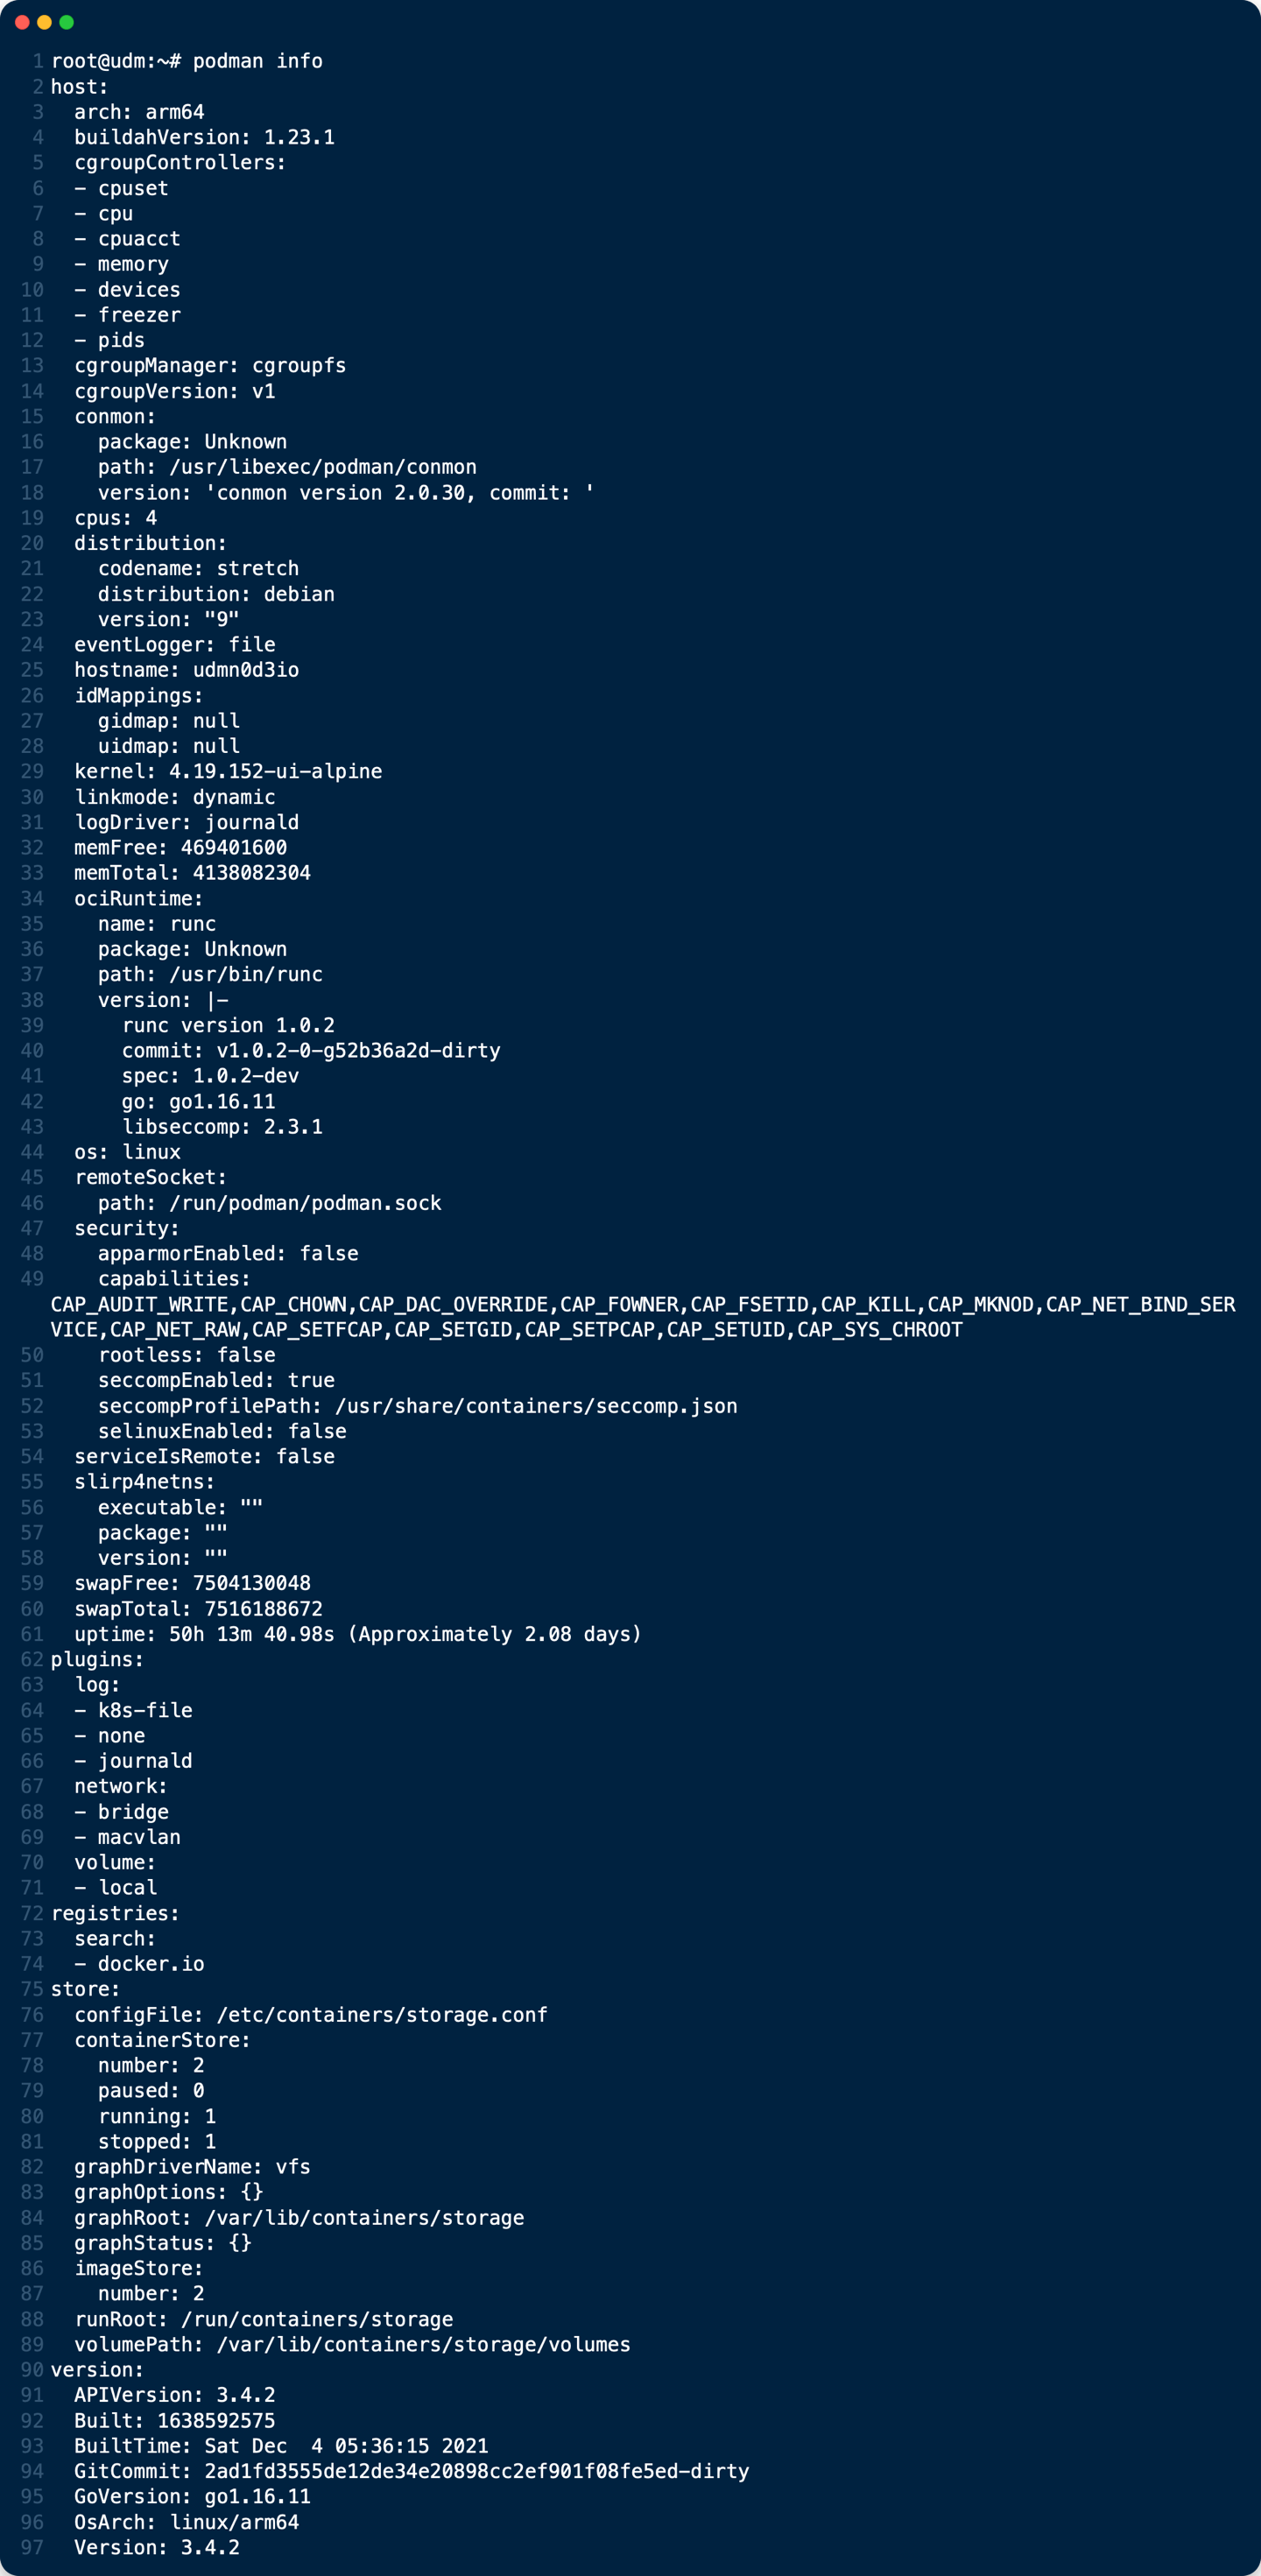
That’s all, your Unifi Dream Machine PRO Special Edition (UDM PRO SE) is now unchain to welcome new docker container services !
Install ntopng Container on UDM PRO SE
ntopng is the next generation version of the original ntop, a network traffic probe that monitors network usage. ntopng is based on libpcap/PF_RING
To install ntopng container on UDM PRO SE see this tuto
Tips
Tips: Make your Jumbo frames work on UDM PRO SE!
UDMP Monitor MTU is a shell script that checks all VLAN interfaces and LAN SFP+ ports on the UDM Pro and sets them to 9216. This allows for intervlan routing to take place without being fragmented. This runs every 5 seconds but can be modified if you change the sleep values in the script /mnt/data/11-change-mtu.sh.
- Place the
10-monitor-mtu.shin/mnt/data/on_boot.d/folder and mark it as executable
curl -o /mnt/data/on_boot.d/10-monitor-mtu.sh  https://raw.githubusercontent.com/kalenarndt/udmp-jumbo-frames/blob/main/10-monitor-mtu.sh
chmod +x /mnt/data/on_boot.d/10-monitor-mtu.sh
- Place the
11-change-mtu.shin the/mnt/datafolder and mark it as exectable
curl -o /mnt/data/11-change-mtu.sh  https://raw.githubusercontent.com/kalenarndt/udmp-jumbo-frames/blob/main/11-change-mtu.sh
chmod +x /mnt/data/11-change-mtu.sh
- Check the result with command bellow:
ifconfig | grep mtu
Console output :
br0: flags=4163<UP,BROADCAST,RUNNING,MULTICAST>  mtu 9216
eth0: flags=4163<UP,BROADCAST,RUNNING,MULTICAST>  mtu 9216
eth1: flags=4163<UP,BROADCAST,RUNNING,MULTICAST>  mtu 9216
eth2: flags=4163<UP,BROADCAST,RUNNING,MULTICAST>  mtu 9216
eth3: flags=4163<UP,BROADCAST,RUNNING,MULTICAST>  mtu 9216
eth4: flags=4163<UP,BROADCAST,RUNNING,MULTICAST>  mtu 9216
eth5: flags=4163<UP,BROADCAST,RUNNING,MULTICAST>  mtu 9216
eth6: flags=4163<UP,BROADCAST,RUNNING,MULTICAST>  mtu 9216
eth7: flags=4163<UP,BROADCAST,RUNNING,MULTICAST>  mtu 9216
eth8: flags=4163<UP,BROADCAST,RUNNING,MULTICAST>  mtu 1500
eth9: flags=4163<UP,BROADCAST,RUNNING,MULTICAST>  mtu 1500
eth10: flags=4163<UP,BROADCAST,RUNNING,MULTICAST>  mtu 9216
eth10.2: flags=4163<UP,BROADCAST,RUNNING,MULTICAST>  mtu 9216
eth10.3: flags=4163<UP,BROADCAST,RUNNING,MULTICAST>  mtu 9216
eth10.4: flags=4163<UP,BROADCAST,RUNNING,MULTICAST>  mtu 9216
eth10.10: flags=4163<UP,BROADCAST,RUNNING,MULTICAST>  mtu 9216
lo: flags=73<UP,LOOPBACK,RUNNING>  mtu 65536
switch0: flags=4419<UP,BROADCAST,RUNNING,PROMISC,MULTICAST>  mtu 9216
switch0.1: flags=4163<UP,BROADCAST,RUNNING,MULTICAST>  mtu 9216
switch0.2: flags=4163<UP,BROADCAST,RUNNING,MULTICAST>  mtu 9216
switch0.3: flags=4163<UP,BROADCAST,RUNNING,MULTICAST>  mtu 9216
switch0.4: flags=4163<UP,BROADCAST,RUNNING,MULTICAST>  mtu 9216
switch0.10: flags=4163<UP,BROADCAST,RUNNING,MULTICAST>  mtu 9216